
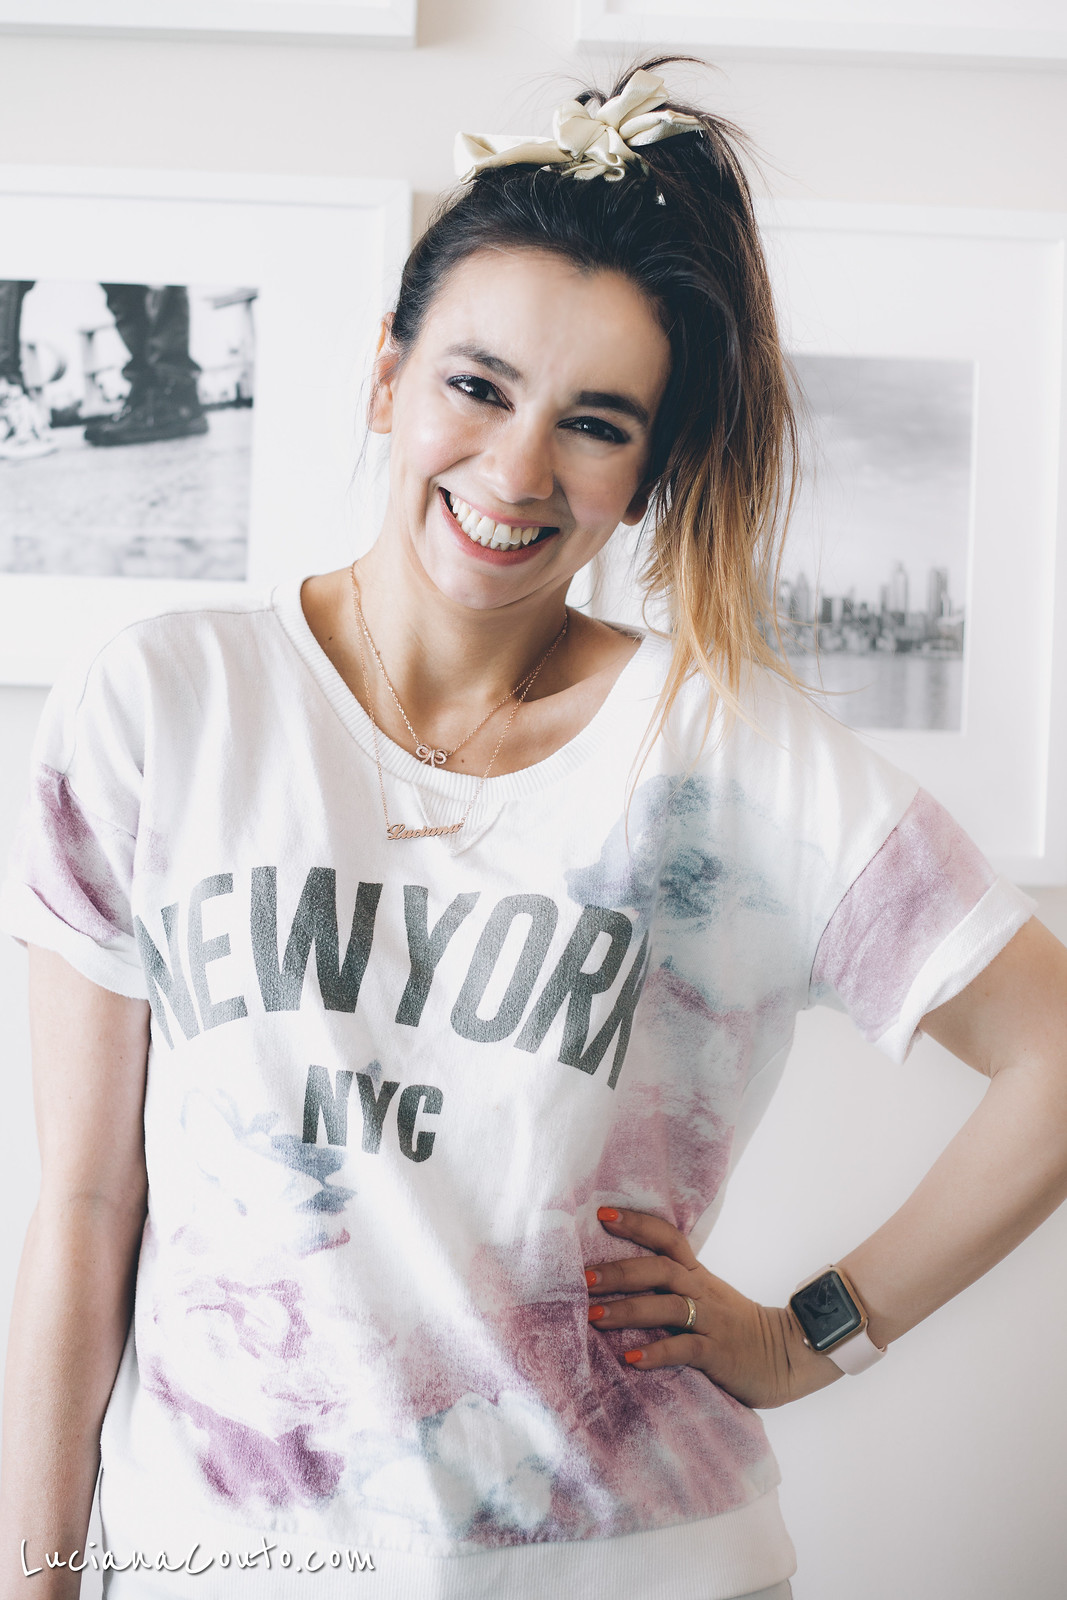
The scrunchies are back!
If you lived the years 80s and 90s you must remember them, they were all over the place!
And with this fashion revival, of course they had to go back.
I love it because I think they embellish a lot more than a regular hair band and gain a fashion accessory status. They can be of various colours (and prints, why not?) and materials.

Another advantage is that they are made of scraps of fabric, so they are a great solution for those who do not know what to do with what is left over after a sewing project.

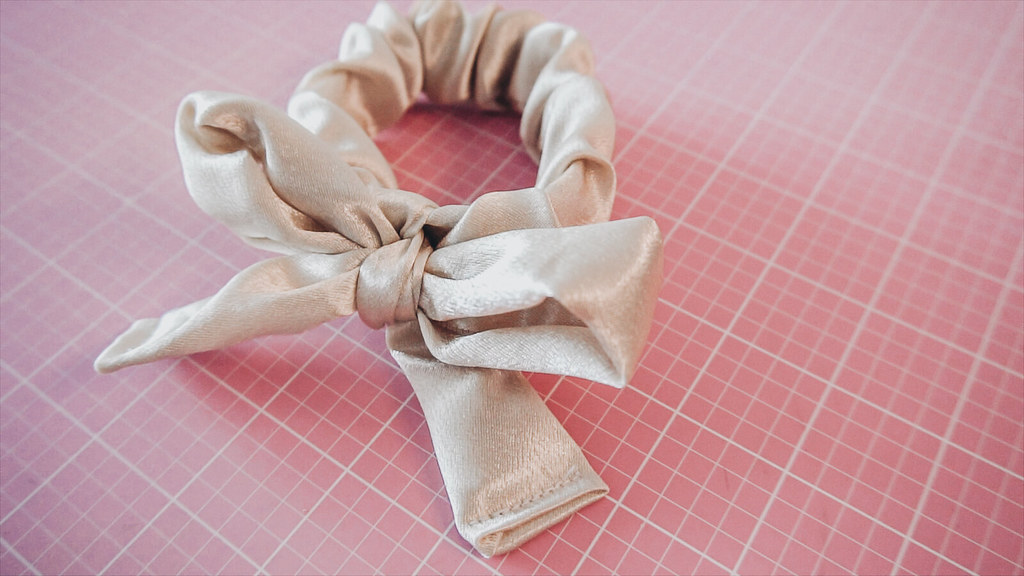
So what are you waiting for to make these scrunchies? What I’m going to teach in this post has a bow!
Material for scrunchies
You will need two fabric rectangles: 9cm x 45cm and 6,3cm x 63cm (for the loop), a piece of 0,5cm wide elastic, pins and a head pin.
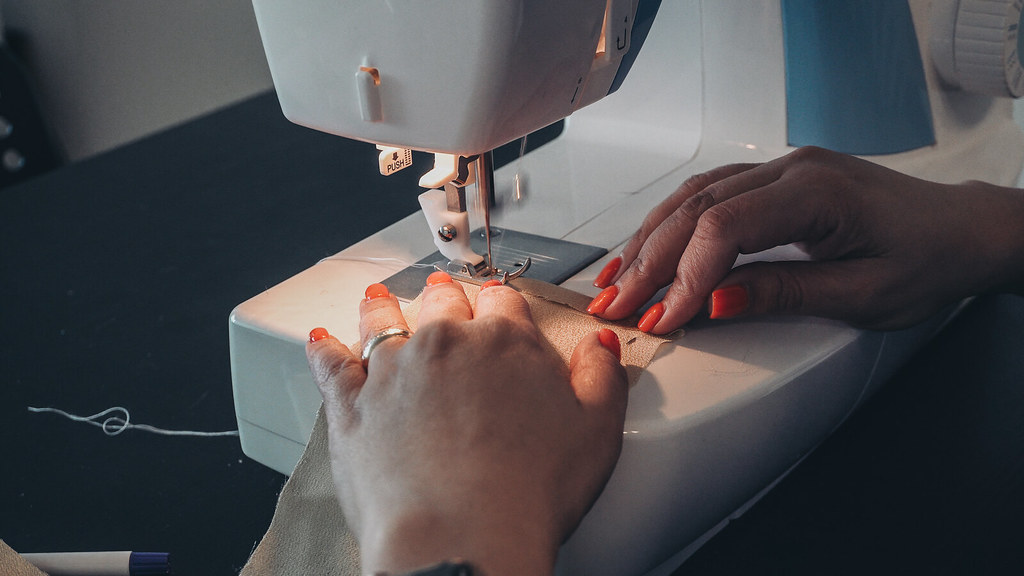
The ideal is to sew with sewing machine, but you can try sewing them by hand too!
How To Make Your Scrunchies (Footsteps)
1. Make a sheath on the smaller sides of the two rectangles.
2. Fold the shorter rectangle in half and sew the side inside out to wipe it out.

3. Attach a head pin to one end and use it as a guide to turn it inside out.
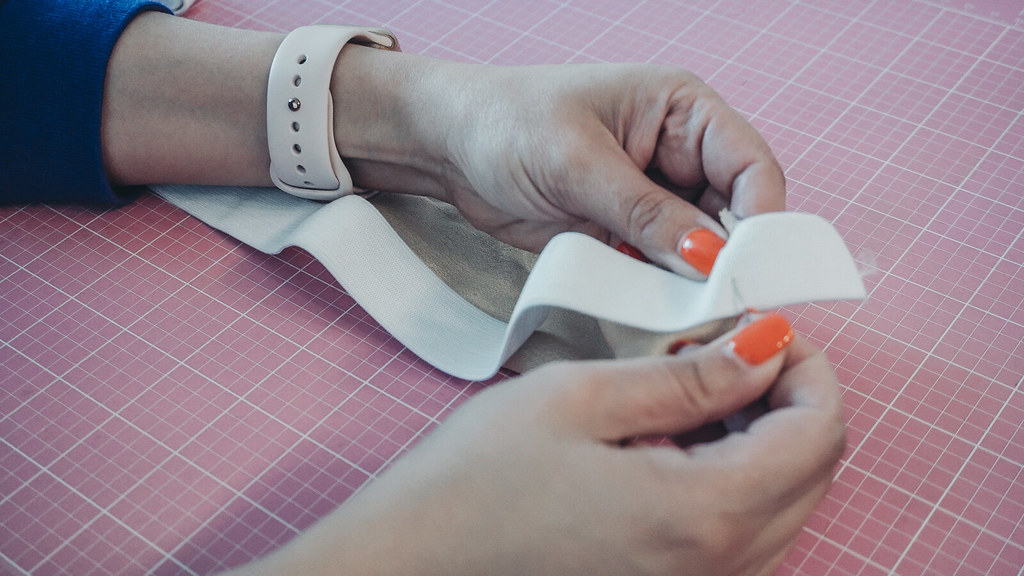

4. Use the same pin to pass the elastic band.

5. Sew the two ends by closing the circle.

6. Do the same process of sewing the side and turning to the right side to the other rectangle.

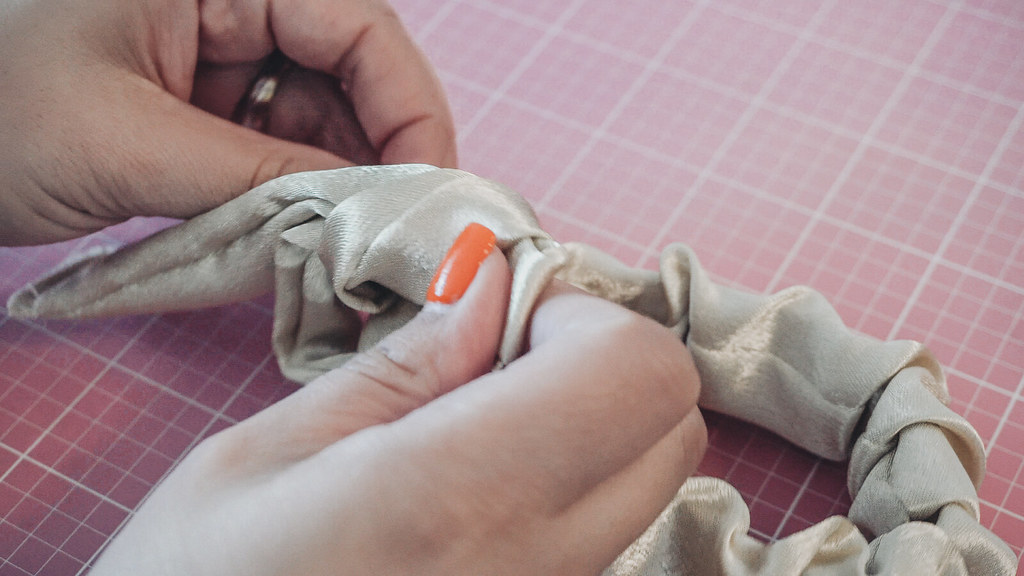
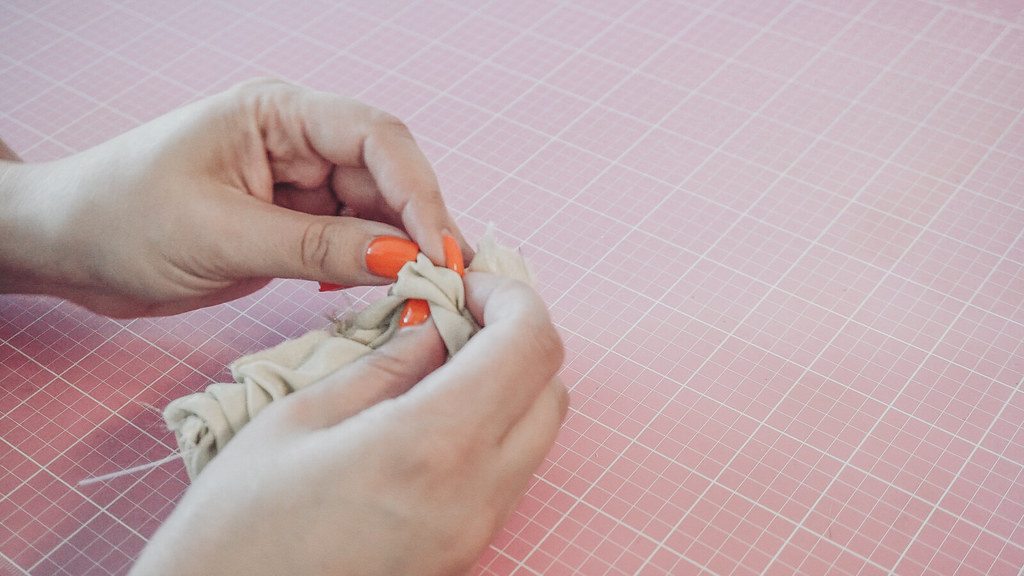
7. Fold the two smaller tips inside and sew.
8. Tie it in the scrunchie with a bow tie.